
pfister shower valve installation instructions
Pfister Shower Valve Installation Instructions: A Comprehensive Guide
This detailed guide provides step-by-step instructions for a successful Pfister shower valve installation, ensuring optimal performance and longevity of your new fixture.
From preparation to testing, we cover every aspect, referencing Pfister’s parts diagrams and troubleshooting common issues for a seamless experience.
Pfister shower valves are renowned for their durability, innovative designs, and reliable performance, making them a popular choice for bathroom renovations and new constructions. This guide focuses on the installation process, ensuring a smooth and successful experience for both DIY enthusiasts and plumbing professionals.
Pfister offers a diverse range of shower valves, including pressure-balancing, thermostatic, and transfer valves, each designed to deliver a consistent and comfortable showering experience. Understanding the specific features of your chosen Pfister model is crucial before beginning the installation.
Proper installation is key to maximizing the valve’s lifespan and preventing leaks or malfunctions. This comprehensive guide will walk you through each step, from preparing the shower space to final testing, referencing available resources and diagrams.
Safety Precautions Before Installation
Prioritizing safety is paramount when undertaking any plumbing project, including Pfister shower valve installation. Always shut off the water supply to the shower before commencing work to prevent flooding and potential water damage. Wear safety glasses to protect your eyes from debris and gloves to safeguard your hands.
Be mindful of electrical wiring within the shower area and avoid contact with live wires. If you are uncomfortable working with plumbing or electrical components, consult a qualified professional. Ensure the work area is well-lit and free from obstructions.
Properly dispose of old parts and packaging materials. Follow local regulations for waste disposal.
Tools and Materials Required
Successful Pfister shower valve installation necessitates gathering the correct tools and materials beforehand. You’ll need a pipe wrench, adjustable wrench, screwdriver set (Phillips and flathead), plumber’s tape, and potentially a basin wrench for tight spaces.
Essential materials include the Pfister shower valve kit, plumber’s putty, silicone sealant, and appropriate pipe fittings if modifications are needed. A bucket and towels are crucial for containing water during shut-off and removal.
Consider having a flashlight, level, and measuring tape readily available for accurate installation and alignment.
Understanding Pfister Shower Valve Parts
Familiarizing yourself with Pfister shower valve components is crucial for a smooth installation. The valve body forms the core, connecting to water supply lines. The cartridge controls temperature and flow; different types exist, ensuring compatibility with your model.
The escutcheon plate covers the valve body, providing a finished look, while handle components allow for operation. Understanding these parts—identifying each one—will simplify the process.
Refer to your Pfister manual for a detailed parts diagram specific to your valve model, aiding in proper assembly and troubleshooting.
Valve Body Identification
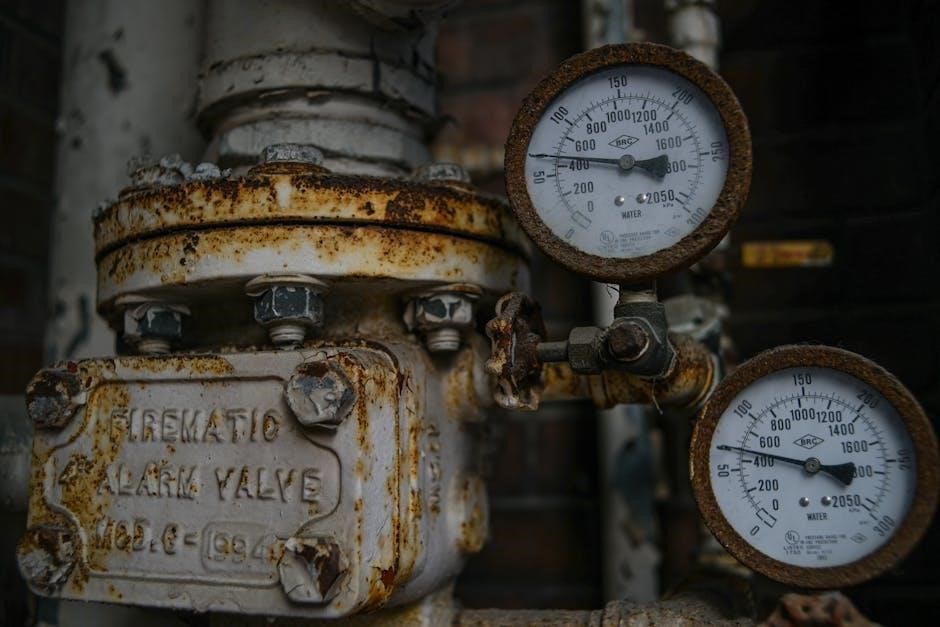
The Pfister shower valve body serves as the central hub, connecting to both hot and cold water supply lines. It typically features threaded inlets for secure connections, often requiring plumber’s tape for a watertight seal.
Inspect the body for any damage before installation, ensuring threads are clean and free of debris. Different Pfister models may have slight variations in body design, so referencing your specific model’s diagram is vital.
Proper identification ensures you’re connecting the correct lines and using compatible fittings, preventing leaks and ensuring optimal performance.
Cartridge Types and Compatibility
Pfister utilizes various cartridge types, including pressure balancing and thermostatic options, each designed for specific performance characteristics. Pressure balancing cartridges maintain consistent water temperature despite pressure fluctuations.
Thermostatic cartridges allow precise temperature selection and maintain it, offering enhanced comfort. Compatibility is crucial; always verify the correct cartridge for your valve model.
Using an incompatible cartridge can lead to improper function or leaks. Refer to Pfister’s parts diagrams or contact customer support to confirm the correct cartridge before installation.
Escutcheon Plate and Handle Components
The escutcheon plate covers the valve body and wall opening, providing a finished aesthetic. Pfister offers various finishes like brushed nickel, polished chrome, and oil-rubbed bronze to match your bathroom décor.
Handle components include the handle itself, a retaining nut, and often a temperature limit stop. Proper handle installation ensures smooth operation and prevents leaks.
Ensure the escutcheon plate is securely fastened to the valve body before attaching the handle. Tighten the retaining nut firmly, but avoid over-tightening, which could damage the valve or handle.
Preparing the Shower Space
Before beginning, thoroughly prepare the shower area for a smooth installation. This crucial step involves several key actions to ensure a secure and leak-free result. First, and most importantly, shut off the water supply to the shower valve – locate the shut-off valves and turn them clockwise until fully closed.
If replacing an existing valve, carefully remove the old unit. Inspect the plumbing rough-in within the wall for any damage or corrosion. Ensure the pipes are clean and properly aligned to accommodate the new Pfister valve.
Shutting Off Water Supply

Prior to any Pfister shower valve work, completely isolating the water supply is paramount for safety and preventing water damage. Locate the dedicated shut-off valves for the shower, typically found in the basement, utility room, or adjacent to the shower itself.
Turn these valves clockwise until firmly closed. To confirm complete shut-off, briefly turn on the shower; only residual water should emerge. If dedicated valves are unavailable, shut off the main water supply to the house. Always test to verify no water flows before proceeding;
Removing the Old Shower Valve (If Applicable)
If replacing an existing valve, carefully remove it to avoid damaging surrounding tiles or plumbing. Begin by removing the shower handle and escutcheon plate, exposing the valve body. Use a basin wrench to loosen the retaining nuts connecting the valve to the water supply lines.
Be prepared for residual water in the lines. Once disconnected, gently pull the old valve body away from the wall. Inspect the opening for debris or corrosion, cleaning as needed before installing the new Pfister valve.
Inspecting the Plumbing Rough-In

Before installing the Pfister valve, thoroughly inspect the existing plumbing rough-in. Verify the hot and cold water supply lines are correctly positioned and meet the required specifications for Pfister valves; Ensure the wall opening is free of obstructions and adequately sized to accommodate the new valve body.
Check for any signs of corrosion or damage to the pipes. Confirm proper pipe alignment to prevent strain on the new valve. Addressing any issues now will prevent complications during and after installation, ensuring a secure and leak-free connection.
Installing the Pfister Shower Valve Body
Begin by carefully applying plumber’s tape to the threads of the water supply lines, ensuring a watertight seal. Gently connect the valve body to both the hot and cold water lines, hand-tightening initially to avoid cross-threading.
Use a wrench to securely tighten the connections, but avoid over-tightening, which could damage the pipes or valve body. Position the valve body flush against the wall, ensuring it’s properly aligned before securing it with appropriate screws or mounting brackets. A stable installation is crucial for long-term performance.
Applying Plumber’s Tape
Properly applying plumber’s tape is essential for creating a leak-proof seal on threaded connections. Wrap the tape clockwise around the male threads of the water supply pipes, typically three to five times. This direction ensures the tape tightens with the fitting, not against it.
Avoid overlapping the tape, as this can create a bulge and compromise the seal. Ensure the entire thread surface is covered, but don’t use excessive tape, which can hinder proper connection. A consistent, even wrap is key for a reliable, watertight joint.
Connecting to Water Supply Lines

Carefully align the Pfister shower valve body with the hot and cold water supply lines. Ensure the connections are snug, but avoid over-tightening, which can damage the threads or the valve itself. Use two wrenches – one to hold the valve body steady and the other to tighten the supply line connections.
Double-check that the hot and cold lines are correctly oriented before fully tightening. Inspect the connections for any gaps or misalignment. A secure, leak-proof connection is vital for proper shower function and preventing water damage.
Securing the Valve Body to the Wall
Once the water supply lines are connected, carefully position the Pfister shower valve body against the wall. Utilize the mounting brackets or screws provided with your Pfister valve model. Ensure the valve body is flush with the finished wall surface for proper escutcheon plate installation.
Tighten the screws gradually and evenly to avoid stressing the valve body or damaging the surrounding wall. Verify the valve body is firmly secured and doesn’t exhibit any wobble or movement. A stable installation is crucial for long-term reliability.
Installing the Cartridge
With the valve body securely mounted, it’s time to install the Pfister shower cartridge. This is a critical step for proper temperature and flow control. Before insertion, thoroughly lubricate all O-rings on the cartridge with silicone-based plumber’s grease. This ensures smooth operation and prevents premature wear.
Carefully align the cartridge with the valve body’s opening, ensuring correct orientation. Gently push the cartridge into place until it clicks or seats fully. Secure the cartridge using the retaining clip or nut provided, tightening it snugly but not excessively.
Lubricating the Cartridge O-Rings
Prior to inserting the Pfister shower cartridge, lubricating the O-rings is paramount for a leak-free and long-lasting installation. Utilize a silicone-based plumber’s grease – petroleum-based lubricants can degrade the rubber O-rings over time. Apply a thin, even coat of grease to each O-ring, ensuring complete coverage.
This lubrication reduces friction during installation and creates a watertight seal. Avoid using excessive grease, as it can attract debris and compromise the seal. Proper lubrication guarantees smooth cartridge operation and prevents future drips or leaks.
Inserting and Securing the Cartridge
With the O-rings properly lubricated, carefully insert the Pfister shower cartridge into the valve body. Align the cartridge with the designated slots or guides within the valve body, ensuring a smooth and even insertion. Avoid forcing the cartridge, as this could damage the O-rings or the valve body itself.
Once fully seated, secure the cartridge using the retaining clip or nut provided with your Pfister valve. Tighten the clip or nut to the manufacturer’s specifications – over-tightening can cause damage. Verify the cartridge is firmly in place before proceeding.
Attaching the Escutcheon Plate
After the cartridge is securely installed, carefully position the Pfister escutcheon plate over the valve body. Ensure the plate is centered and aligned with the surrounding tile or shower wall for a clean, finished look. Slide the escutcheon plate onto the valve body, typically snapping or screwing into place.
If screws are required, tighten them gently to avoid damaging the plate or the wall. Check for any gaps between the plate and the wall, and adjust as needed. A properly installed escutcheon plate conceals the valve body and provides a mounting point for the shower handle.
Installing the Shower Handle
With the escutcheon plate securely attached, proceed to install the Pfister shower handle. Align the handle with the cartridge stem, ensuring a proper fit. Press the handle firmly onto the stem; it should click or screw into place, depending on the model.
Tighten the handle screw (if applicable) to secure it further. Test the handle’s movement – it should rotate smoothly through its full range of motion, controlling water temperature and flow. Avoid over-tightening, which could damage the handle or the valve mechanism.
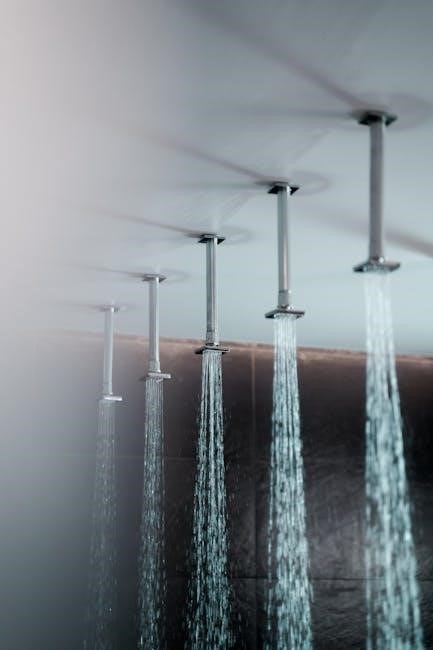
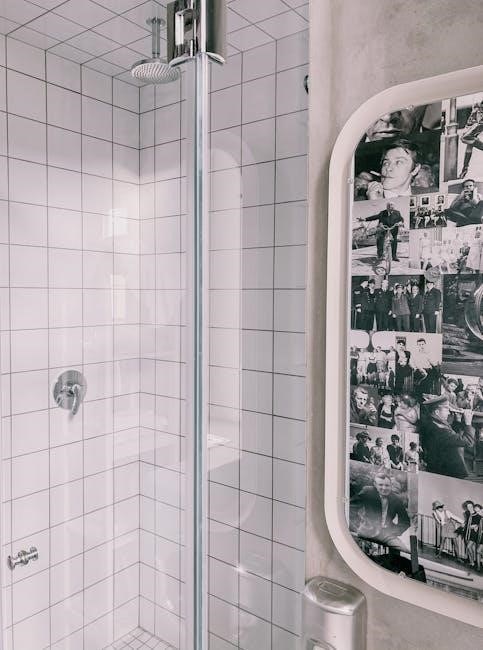
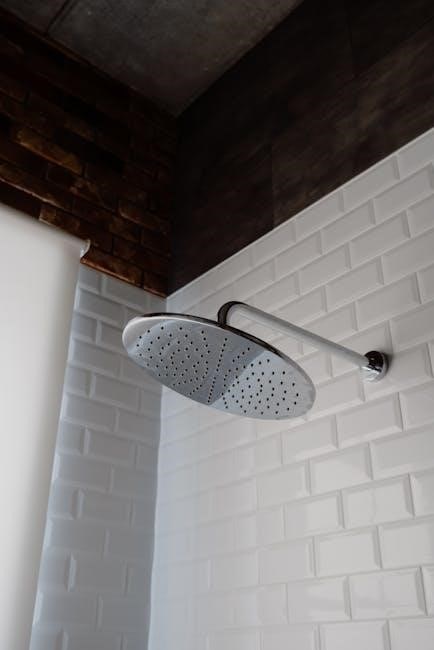
Connecting the Showerhead and Spout
After the valve and handle are installed, connect the showerhead and spout. Apply plumber’s tape to the threads of the shower arm and spout before connecting them to the valve outlet. Hand-tighten the connections initially, then use a wrench to tighten further, but avoid over-tightening.
Ensure the showerhead and spout are securely attached to prevent leaks. Check the alignment of the showerhead and spout for optimal water flow. If a diverter valve is present, test its functionality to switch between showerhead and spout.
Testing for Leaks
Following installation, thoroughly test for leaks. Slowly turn on the water supply to the shower valve, observing all connections for any signs of dripping or seepage. Check around the valve body, cartridge, escutcheon plate, showerhead, and spout connections.
Tighten any connections exhibiting leaks, but avoid excessive force. Run the shower through its full range of temperature and flow settings, continuing to monitor for leaks. Address any persistent leaks immediately to prevent water damage and ensure proper valve function.
Initial Water Turn-On Procedure
Before fully opening the water supply, ensure all shower components are securely installed. Slowly turn on the main water shut-off valve, allowing water to gradually fill the pipes. Monitor the valve body and connections for any immediate signs of leakage as pressure builds. Open the shower valve briefly to flush out any debris that may have entered during installation.
This initial flush helps prevent cartridge damage. Continue monitoring for leaks while gradually increasing water flow. If leaks are detected, immediately shut off the water and address the issue before proceeding;
Checking for Leaks Around Connections
After the initial water turn-on, a thorough leak check is crucial. Carefully inspect all connections – where the valve body meets the water supply lines, around the cartridge, at the escutcheon plate, and where the showerhead and spout connect. Use a dry cloth to wipe around each connection, looking for any signs of moisture.
Pay close attention to threaded areas and O-ring seals. If a leak is found, tighten the connection slightly. If tightening doesn’t resolve the issue, shut off the water and re-examine the connection for proper sealing.
Troubleshooting Common Installation Issues
Even with careful installation, issues can arise. Low water pressure often indicates a partially blocked supply line or cartridge. A dripping shower valve usually points to a worn cartridge or damaged O-rings, requiring replacement. Handle difficulties, like stiffness or resistance, may stem from improper cartridge lubrication or a misaligned handle assembly.
Always shut off the water supply before attempting any repairs. Consult the Pfister parts diagram to identify the correct replacement components. If problems persist, refer to Pfister’s customer support for expert assistance.
Low Water Pressure
Experiencing low water pressure after installation often indicates a restriction within the system. First, verify that the main water supply valve is fully open. Next, inspect the shower valve’s supply lines for kinks or obstructions. A partially blocked cartridge is another common culprit; remove and thoroughly clean it, checking for debris.
Ensure the cartridge is correctly seated. If the issue persists, check for pressure imbalances in your home’s plumbing. Consider consulting a plumber to assess the overall water pressure and identify potential issues beyond the valve itself.
Dripping Shower Valve
A dripping Pfister shower valve usually points to a worn or damaged cartridge. Begin by shutting off the water supply and removing the handle and escutcheon plate to access the cartridge. Inspect the cartridge for cracks, mineral buildup, or damaged O-rings. Replace the cartridge with a new, compatible Pfister model.
Before installation, lubricate the new cartridge’s O-rings with plumber’s grease. Ensure proper seating during installation. If dripping continues, check the valve body for corrosion or damage, potentially requiring professional repair or replacement.
Handle Difficulties
If your Pfister shower handle is stiff or difficult to turn, the issue often lies within the cartridge or handle assembly. Start by removing the handle and checking for corrosion or mineral buildup on the stem. Lubricate the stem with plumber’s grease and reinstall the handle. If the problem persists, the cartridge may be failing and require replacement.
Ensure the cartridge is correctly aligned during installation. A worn or damaged cartridge can cause significant resistance. Inspect the handle itself for cracks or damage that could impede smooth operation. Consider replacing the entire handle assembly if necessary.
Pfister Warranty Information
Pfister offers a comprehensive warranty on their shower valves, providing peace of mind to customers. Generally, Pfister valves are covered by a Limited Lifetime Warranty against defects in materials and workmanship. This warranty typically covers finishes, and mechanical components, protecting against issues like drips or leaks.
To claim warranty service, retain your proof of purchase and contact Pfister customer support. Warranty coverage may be voided by improper installation, misuse, or damage. Review the full warranty details on the Pfister website for specific terms and conditions.
Maintenance and Cleaning Tips
Regular maintenance extends the life of your Pfister shower valve. To clean, use a mild soap and water solution, avoiding abrasive cleaners that can damage the finish. Rinse thoroughly and dry with a soft cloth. Periodically check for leaks around connections and tighten as needed.
Inspect the showerhead and spout for mineral buildup; soak in vinegar to dissolve deposits. Lubricate the handle and cartridge occasionally with silicone grease for smooth operation. Avoid harsh chemicals and excessive force during cleaning to preserve the valve’s integrity.
Pfister Shower Valve Model Variations
Pfister offers a diverse range of shower valve models, each with unique features and installation nuances. Common variations include single-handle, two-handle, and pressure-balancing valves. Specific models like the T series and Y series may require slightly different installation procedures.
Always refer to the installation manual specific to your Pfister model for accurate instructions. Compatibility with existing plumbing may vary depending on the valve type. Understanding these differences ensures a proper fit and optimal performance, preventing potential issues during and after installation.
Resources for Additional Help
For further assistance with your Pfister shower valve installation, several resources are readily available. Pfister’s official website provides detailed manuals, FAQs, and troubleshooting guides. YouTube channels offer visual step-by-step instructions, often demonstrating specific model installations.
Online plumbing forums and communities can connect you with experienced DIYers and professionals. Pfister customer support is accessible via phone or email for direct assistance. Utilizing these resources ensures a smooth installation process and addresses any challenges you may encounter.
Understanding Pfister’s Pressure Balancing Technology
Pfister shower valves incorporate pressure balancing technology, a crucial safety feature. This technology maintains a consistent water temperature even when water pressure fluctuates elsewhere in your home – preventing scalding or sudden cold bursts.
The valve automatically adjusts the hot and cold water mix to compensate for pressure changes. Understanding this function is vital during installation, ensuring the valve is correctly oriented for optimal performance. Proper installation guarantees the pressure balancing feature operates effectively, providing a safe and comfortable showering experience.
Compatibility with Different Shower Systems
Pfister shower valves are designed for broad compatibility, yet understanding your existing shower system is key. They generally work well with standard showerheads, spouts, and handheld sprayers. However, certain advanced systems – like those with multiple body jets or rainfall showerheads – may require higher flow rates.
Verify your system’s flow rate before installation to ensure the Pfister valve can adequately supply water. Consider the valve’s connection size (typically ½ inch) and ensure it matches your plumbing. Compatibility ensures optimal performance and prevents issues like low water pressure.
Step-by-Step Installation Diagram Overview
Pfister provides comprehensive installation diagrams illustrating each stage of the process. These diagrams visually guide you, from shutting off the water supply to securing the valve body and attaching the handle. Key elements include clear depictions of parts placement, plumber’s tape application, and cartridge insertion.
Referencing the diagram alongside these instructions is crucial for accurate assembly. Pay close attention to the orientation of components and the tightening sequence of connections. Utilize the diagram to identify parts and understand their function within the overall system, ensuring a smooth installation.
Common Mistakes to Avoid During Installation
A frequent error is over-tightening connections, potentially damaging valve components or causing leaks. Always use appropriate tools and apply gentle, even pressure. Skipping plumber’s tape on threaded connections is another common oversight, leading to water seepage. Ensure all surfaces are clean before applying tape.
Incorrect cartridge installation can result in improper water flow or temperature control. Double-check the cartridge’s orientation and secure it firmly. Failing to flush the lines before connecting the showerhead can introduce debris, causing blockages. Take your time and follow each step carefully;
Pfister Customer Support Contact Information
For dedicated assistance with your Pfister shower valve installation, or any related concerns, their customer support team is readily available; You can reach them via phone at 1-800-PFA-ISTOR (1-800-732-4786) during business hours, typically Monday through Friday. Alternatively, explore their comprehensive online support portal at PfisterFaucets.com.
This website features FAQs, troubleshooting guides, and detailed parts diagrams. For written inquiries, you can contact Pfister via mail at Pfister Faucets, 370 Reed Road, Elkhart, IN 46514. Their knowledgeable representatives are committed to ensuring a smooth installation experience.
Disposal of Old Shower Valve Components
Responsible disposal of your old shower valve components is crucial for environmental protection. Do not simply discard them in household trash. Many components, such as brass and copper, are recyclable materials. Check with your local waste management authority for specific guidelines on metal recycling programs in your area.
Consider taking the old valve body and other metal parts to a scrap metal recycling center. Plastic and rubber components may not be recyclable and should be disposed of according to local regulations. Always prioritize environmentally sound practices.